
These healthier Frozen Peanut Butter Cups have everything you love about classic Reese’s cups—a rich chocolate shell and creamy peanut butter filling—but they’re made with simple, wholesome ingredients and come together with almost no effort!
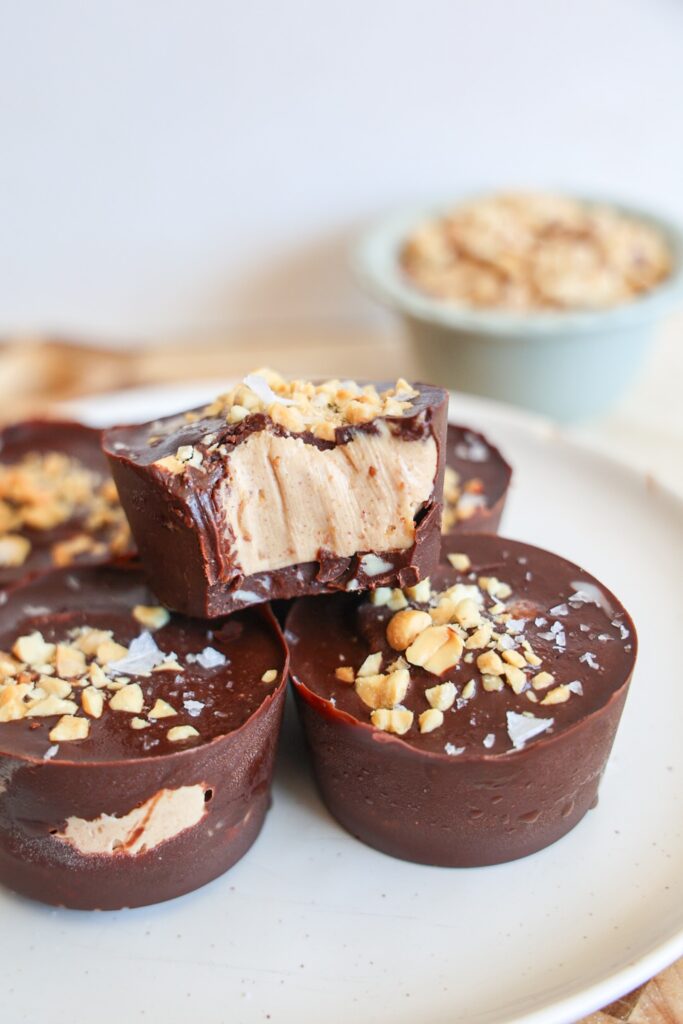
The filling is irresistibly smooth thanks to a combination of peanut butter, yogurt, and a touch of honey or maple syrup, while the chocolate coating adds the perfect snap straight from the freezer. The result? A dessert that’s creamy, fudgy, and tastes surprisingly indulgent, yet is packed with protein and healthy fats (shhhhh, no one has to know)!
Whether you’re craving an afternoon pick-me-up, a healthy dessert after dinner, or an easy make-ahead freezer snack, these homemade frozen peanut butter cups are guaranteed to disappear fast. I love prepping them for the week to stash in the freezer!
Why You’ll Love These Frozen Peanut Butter Cups
- No baking required
- Made with just a handful of wholesome ingredients
- Naturally sweetened with honey or maple syrup
- High in protein thanks to the yogurt
- They’re gluten-free, grain-free, and can be dairy & sugar-free when using refined sugar-free chocolate
- Perfect for meal prep & stores beautifully in the freezer
If you love healthy Reese’s-inspired desserts, this recipe is one you’ll find yourself making on repeat!!
Recipe video
What Makes These Peanut Butter Cups Healthier?
Traditional peanut butter cups are often made with refined sugar, palm oil, preservatives, and highly processed ingredients. This homemade version keeps things simple by using:
- Creamy peanut butter for healthy fats and rich flavor
- Greek yogurt or coconut yogurt for a creamy, protein-packed filling
- Honey or maple syrup for natural sweetness
- Chocolate chips for a rich chocolate shell (& No refined sugar (depending on the chocolate you choose)
They’re every bit as satisfying as the store-bought version, but made with ingredients you likely already have in your kitchen. 😉
Ingredients You’ll Need
Be sure to scroll to the recipe card at the bottom of the post for full measurements and instructions!
For the Filling
- Natural creamy peanut butter
- Greek yogurt or dairy-free coconut yogurt (the thicker, the better!)
- Honey or pure maple syrup
- Vanilla extract & Pinch of sea salt
- Chocolate chips
- Coconut oil (optional, for a smoother coating)
How to Make Frozen Peanut Butter Cups
Step 1: Melt the chocolate
Add the chocolate chips to a microwave-safe bowl. Microwave in 20-second intervals, stirring between each, until completely smooth. If desired, stir in a teaspoon of coconut oil for a thinner, easier-to-work-with chocolate coating.
Line a cupcake tin with liners (or use a silicone tin for mess-free!). Add some chocolate to the bottom of each one, working it up the sides slightly. Place in the freezer for 10-15 minutes until completely firm.
Step 2: mix the filling
In the meantime, add the filling ingredients to a bowl and mix until smooth and creamy. Taste and adjust the sweetness if needed.
Step 3: Assemble
Add a spoonful of the peanut butter filling to each cup, leaving a little room around the edges. Cover with the remaining melted chocolate and gently smooth the tops.
Step 4: Freeze
Place the peanut butter cups in the freezer for at least 1 hour, or until completely firm. Peel away the liners and enjoy straight from the freezer.
Tips for the Best Frozen Peanut Butter Cups
- Use a silicone muffin tin for easy removal and no cupcake liners are needed!
- Use natural peanut butter with just peanuts and salt for the best flavor.
- Full-fat yogurt creates the creamiest filling.
- Freeze the first chocolate layer before adding the filling to create clean layers.
- Let the cups sit at room temperature for 2–3 minutes before eating for the perfect creamy texture.
- Sprinkle flaky sea salt or chopped peanuts on top before the chocolate hardens for extra pizazzzzz.
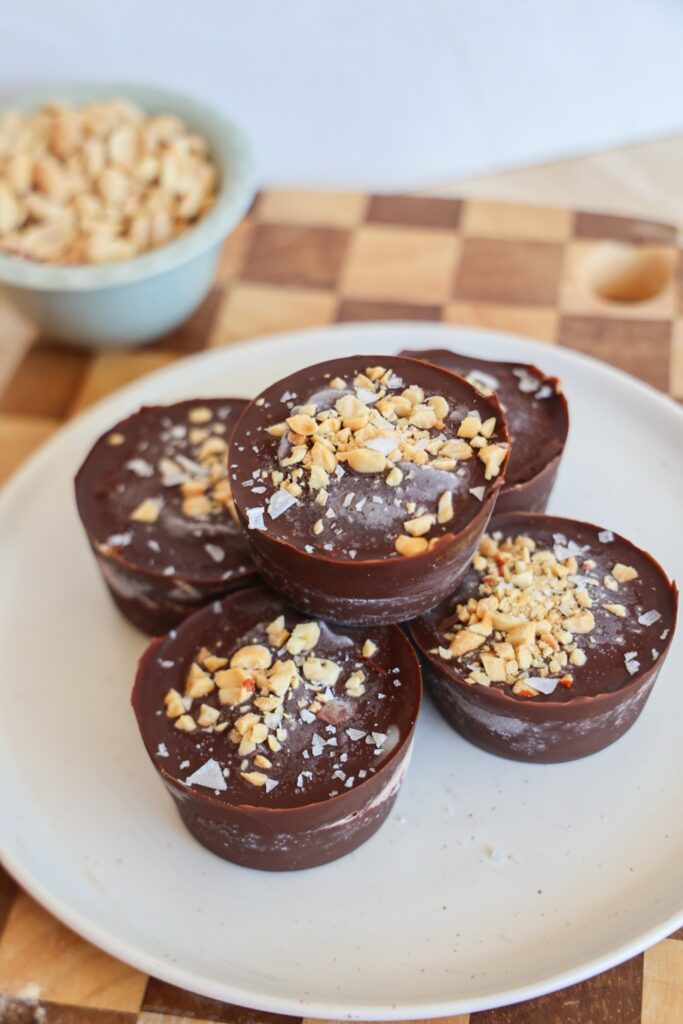
peanut butter cup Variations
There are so many fun ways to customize these healthy frozen peanut butter cups! Try one of these delicious variations:
- Make them high-protein: Stir a scoop of vanilla or chocolate protein powder into the peanut butter filling for an extra protein boost.
- Use crunchy peanut butter: Swap creamy peanut butter for crunchy peanut butter if you love a little texture in every bite.
- Swap the nut butter: Almond butter, cashew butter, or sunflower seed butter all work beautifully in place of peanut butter.
- Use dark or white chocolate: Dark chocolate chips create a richer, less sweet peanut butter cup that’s packed with chocolate flavor and white chocolate creates a sweeter, less bitter coating.
- Top with flaky sea salt: A sprinkle of flaky sea salt before the chocolate sets makes these taste extra decadent.
- Mix in chopped peanuts: Fold roasted peanuts into the filling for added crunch.
Frequently Asked Questions
- Can I make these dairy-free or vegan?
Absolutely! Simply use coconut yogurt or your favorite dairy-free yogurt along with dairy-free chocolate chips. - How long do homemade frozen peanut butter cups last?
Store them in an airtight container in the freezer for up to 3 months. - Can I store them in the refrigerator?
You can, but they’re best enjoyed straight from the freezer or after sitting at room temperature for 2–3 minutes. This gives the filling the perfect creamy texture. - Can I use almond butter instead?
Definitely! Almond butter, cashew butter, or sunflower seed butter are all delicious substitutions.
More healthy recipes to try
- Snickers frozen yogurt bars
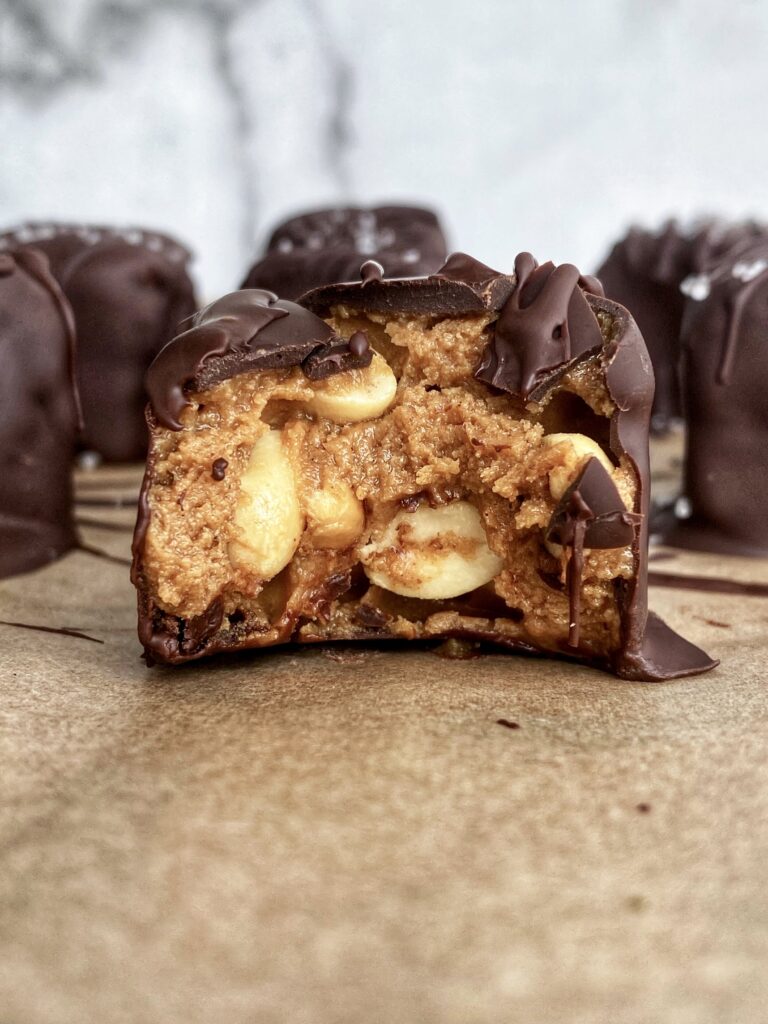
- Healthy snickers bites
- Blueberry marshmallow fluff
- Chocolate covered strawberry cups
- 2 ingredient Rolo’s
- Healthy no-bake brownies
- Vegan frozen yogurt
Healthy Frozen Peanut Butter Cups
Ingredients
- 1 cup thick greek or coconut yogurt
- 1 cup peanut butter (the creamier, the better)
- 3-4 tbsp honey or maple syrup
- 1 tsp vanilla extract
- pinch of sea salt
- 1 3/4 cup chocolate chips
- 2 tsp coconut oil *optional but helps thin the coating!
Instructions
- I recommend using a silicone muffin tin, but if you don't have one, simply line your cupcake tin with liners.
- Add the chocolate chips to a microwave-safe bowl. Microwave in 20-second intervals, stirring between each, until completely smooth. If desired, stir in a teaspoon of coconut oil for a thinner, easier-to-work-with chocolate coating.
- Line a cupcake tin with liners (or use a silicone tin for mess-free!). Add some chocolate to the bottom of each one, working it up the sides slightly. Place in the freezer for 10-15 minutes until completely firm.
- In the meantime, add the filling ingredients to a bowl and mix until smooth and creamy. Taste and adjust the sweetness if needed.
- Add a spoonful of the peanut butter filling to each cup, leaving a little room around the edges. Cover with the remaining melted chocolate and gently smooth the tops.
- Place the peanut butter cups in the freezer for at least 1 hour, or until completely firm. Peel away the liners and enjoy straight from the freezer.

Do you think you could add protein powder to these or would it change the filling texture too much?
Hi Kimberly! No, you definitely can! A scoop would be totally fine! Collagen is another great option as you can add it on top of the protein powder without affecting the texture at all! (: