This melt-in-your mouth 3 ingredient peanut butter fudge is an effortless, satisfying healthy snack or dessert made in under 10 minutes! All you need is yogurt, chocolate chips, and peanut butter! It can be made refined sugar-free, dairy-free, and is naturally gluten-free.

The best healthy fudge
Two years ago I shared my 2 ingredinet healthy fudge recipe that went viral on social media. That recipe is a frequent flyer in my freezer (like I never get sick of it!) and I was dreaming up ways to incorporate my favorite thing ever – peanut butter. Enter, this ultra-creamy, silky, melt-in-your-mouth goodness… basically everything I crave in a chocolate treat! It’s perfect whenever you need a little something sweet — especially when that post-meal sweet tooth starts whispering. And the best part? It’s ridiculously simple. No oven, no fuss — just melt everything together, pop it in the freezer, and test your patience! 😉
If you’re looking for a recipe without yogurt, try my classic peanut butter chocolate fudge.
Why you’ll love this peanut butter fudge
- Wholesome ingredients – this fudge is made without butter, heavy cream, condensed milk, high fructose corn syrup, or added sugar like most store-bought fudge.
- Dietary friendly – this recipe contains no refined sugar (depending on the brands you use!), and is gluten-free. It can be made dairy free, low carb, keto, nut free, and vegan!
- Easy – all you have to do is mix the ingredients together, pour into a pan, and freeze. That’s it!
- Makes a great meal prep – meal prep a batch of healthy fudge for a high protein snack or dessert for the week!
Recipe video
3 ingredient fudge without condensed milk
Most 2-3 ingredient fudge recipes call for an entire can of sweetened condensed milk. However, 1 can of sweetened condensed milk contains 180 grams of sugar alone! This isn’t including the sugar content from the chocolate. I am all about treating yourself to the real deal every now and then, but with my sweet tooth, I need a sweet treat that won’t spike my blood sugar on the daily! This is why I I love this 3 ingredient fudge recipe without condensed milk!
Vegan fudge
This fudge recipe can easily be made vegan by using a thick dairy-free yogurt like coconut yogurt and vegan chocolate. It’s best to use a vegan greek-style yogurt as thicker yogurt works best for this recipe!
How To Make 3 ingredient peanut butter Fudge
The full recipe is in the recipe card at the bottom of the post! But here is an overview:
Kitchen Tools Required
No candy thermometer or oven is needed to make this fudge – it’s so simple!
- Small loaf pan – keep in mind the larger the pan, the thinner your fudge will come out. The smaller your pan, the thicker the fudge will be! This is totally preference!
- Mixing bowl
- Spatula

Ingredients you’ll need
Yogurt: It’s important to use thick yogurt for this recipe to create the creamiest fudge. Greek yogurt or coconut yogurt will work best! I consume a dairy-free diet so I use coconut yogurt to make this vegan fudge. I used Harmless Harvest Rich & Creamy yogurt for this, but I also love the brands CocoJune and Culina.
Peanut butter: Creamy or chunky peanut butter works! Can’t do peanut butter? Feel free to sub in almond butter, cashew butter, granola butter, or sunflower seed butter!
60% Dark or higher Chocolate: It’s important to use quality chocolate for this fudge recipe as it’s what gives the fudge all it’s flavor! It needs to be at least 60% dark chocolate as if it’s any less, the fudge won’t firm up as much as it is supposed to. If you want a sweeter fudge, you can try to sub 1/4 cup of the darker chocolate for milk chocolate, just keep in mind that it may turn out just a tad softer.
- Sugar-free fudge: Lily’s is great (this is a pack of 3)!
- Dairy-free/vegan fudge: Try Enjoy life!
- Organic refined sugar-free fudge: Hu Kitchen is my favorite!
- Keto fudge: Try Pascha organic keto sugar-free bitter sweet 70% chocolate!
Steps to make 3 ingredient peanut butter fudge
Be sure to scroll down to the recipe card for the full recipe/steps!
- In a large bowl, add the yogurt and peanut butter. Mix well. It’s important the yogurt isn’t SUPER cold, as it can seize the chocolate and create a crumbly texture. Either leave it out on the counter for a few minutes or pop it in the microwave for 15 seconds or so.
- Line a small loaf pan or glass tupperware container with parchment paper and set aside.
- Either using the double boiler method or microwave, melt the chocolate. Microwave – In a medium bowl, add the chocolate. Heat in 30 second increments, stirring well between each, until completely smooth.
- Once the chocolate is smooth, pour it over the yogurt. Using a spatula, mix the two together well until uniform. You’ll want to work quickly as the mixture will harden as it cools.
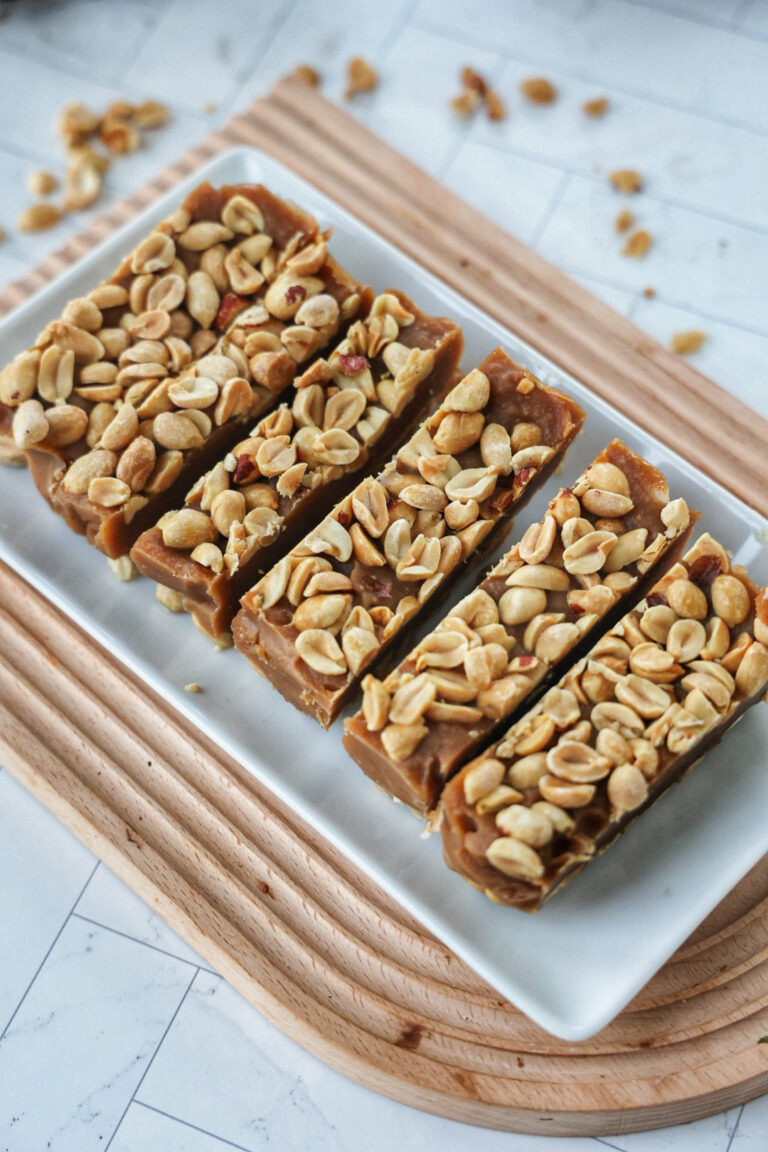
- Once it’s mixed together, quickly pour it into the pan. Place the pan in the freezer for a few hours until it has firmed up. Then cut into pieces. I like to sprinkle over flakey sea salt!
- Store the fudge pieces in an air-tight container or freezer bag in the freezer for up to 2 months! This recipe is formulated to be kept in the freezer and they may become too soft if kept in the fridge!


Helpful tips
- Prevent seizing – It’s important that your yogurt isn’t super cold and that the chocolate is hot when mixing the two together to prevent the mixture from seizing and becoming a crumbly mess! You can either leave the yogurt in the bowl on the counter for a few minutes or pop it in the microwave for 15 seconds or so. Be sure to add the chocolate to the yogurt immediately after melting it, as it needs to be hot!
- What is the texture & taste like? This fudge is super creamy, smooth, & rich! It will definitely curb a sweet tooth without being overly sweet (it definitely isn’t super sweet like regular fudge where it can hurt your stomach!). It has a slightly tangy after-taste because of the yogurt that is delicious! It is made with darker chocolate, so it’s not as sweet as something made with milk chocolate. You could try substituting 1/2 cup milk chocolate chips for 1/2 cup of the darker chocolate, but the fudge may come out just a tad bit softer in texture.
- Clean cuts – for cleaner cut pieces, trim the edges!
Healthy peanut butter fudge variations
- Mint Chocolate Fudge: Use cashew butter and add 1/4 tsp of pure peppermint extract!
- Trail mix fudge: Fold in dried fruit and mixed chopped nuts!
- Rocky Road Fudge: Use almond butter and stir some finely chopped almonds & mini marshmallows into the fudge before pouring into the pan.
- Mocha Fudge: Add 1/2 tsp of instant coffee when mixing together the yogurt and chocolate.
- Nutella hazelnut fudge: Use hazelnut butter and 1/3 cup chopped hazelnuts. My healthy Nutella recipe would be great for this!
Storing healthy fudge bars
Store fudge in an air-tight container in the freezer for 2-3 months. This recipe is formulated to be stored in the freezer and may soften too much in the fridge.
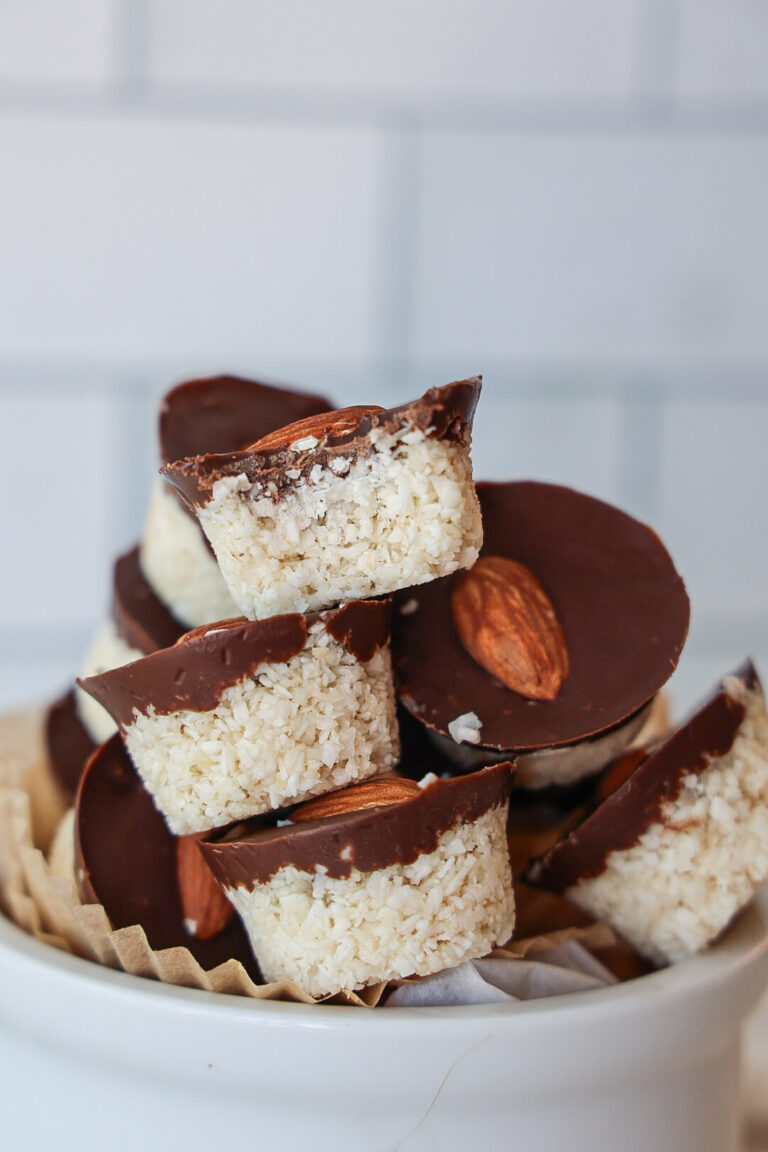
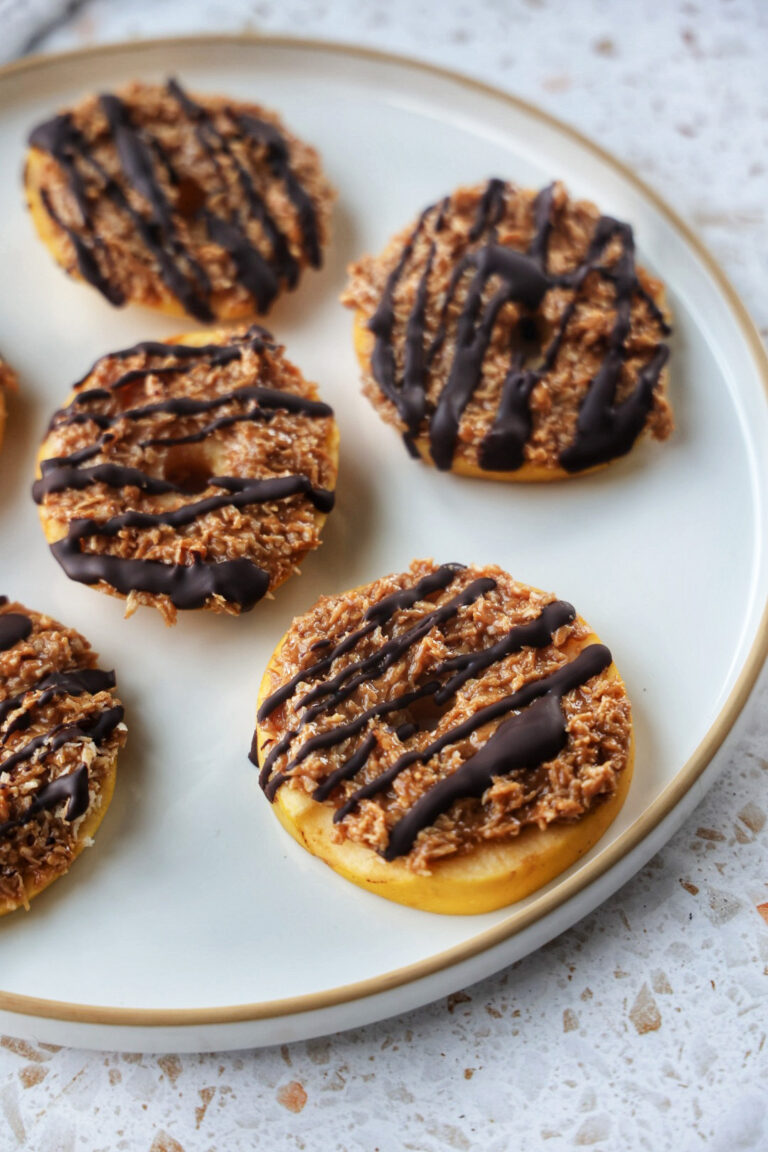
More healthy recipes to try
- No bake peanut butter oatmeal fudge bars
- Peanut butter chocoalte fudge
- Healthy vegan fudge bites
- 3 ingredient fudge stripe cookies
- Frozen protein s’mores
- Peanut butter cup frozen yogurt bars

3 Ingredient Peanut Butter Fudge
Ingredients
- 1 1/2 cups 60% dark or higher, chocolate (about 270g) *see notes
- 3/4 cup THICK vanilla coconut yogurt or vanilla greek yogurt *Runny yogurts won't work! I used Harmless Harvest Rich & creamy. I also like the high protein Culina yogurt.
- 1/2 cup peanut butter
Optional additions
- 1 tsp vanilla extract
- chopped peanuts, for topping
- good pinch sea salt
- maple syrup *if you want a sweeter fudge
Instructions
- Note for making sweeter fudge: You can use a sweetened yogurt, but be sure the yogurt is still veryyyy thick for the best results! (It's still super yummy and sweet with unsweetened yogurt, though!).
- In a large bowl, add the yogurt and peanut butter, mixing well until it's combined. Let it sit at room temperature for a few minutes until it's almost room temp. If the yogurt you're using isn't flavored, you can stir in a teaspoon of vanilla so that your fudge has some flavor. You can also add add 1-2 tbsp of maple syrup to your yogurt, mixing it in well for a sweeter fudge.
- Line a small loaf pan or glass tupperware container with parchment paper and set aside.
- NOTE: You'll want to work quickly once the chocolate is melted, as if you let it cool too much it can seize when mixed into the yogurt creating chunks.
- Either using the double boiler method or microwave, melt the chocolate. Microwave – In a medium bowl, add the chocolate. Heat in 30 second increments, stirring well between each, until completely smooth.
- Once the chocolate is smooth, pour it over the yogurt. Using a spatula, mix the two together well until uniform. Then pour it into the prepared pan. You can press chopped peanuts and flakey sea salt into the top. Then, place the pan in the freezer for a few hours until it has firmed up.
- Once firm, cut into pieces. Store the fudge pieces in an air-tight container or freezer bag in the freezer for up to 2 months! This recipe is formulated to be kept in the freezer and they may become too soft if kept in the fridge!
Video
Notes
- Sugar-free fudge: Lily’s is great (this is a pack of 3)!
- Dairy-free/vegan fudge: Try Enjoy life!
- Organic refined sugar-free fudge: Hu Kitchen is my favorite!
- Keto fudge: Try Pascha organic keto sugar-free bitter sweet 70% chocolate!