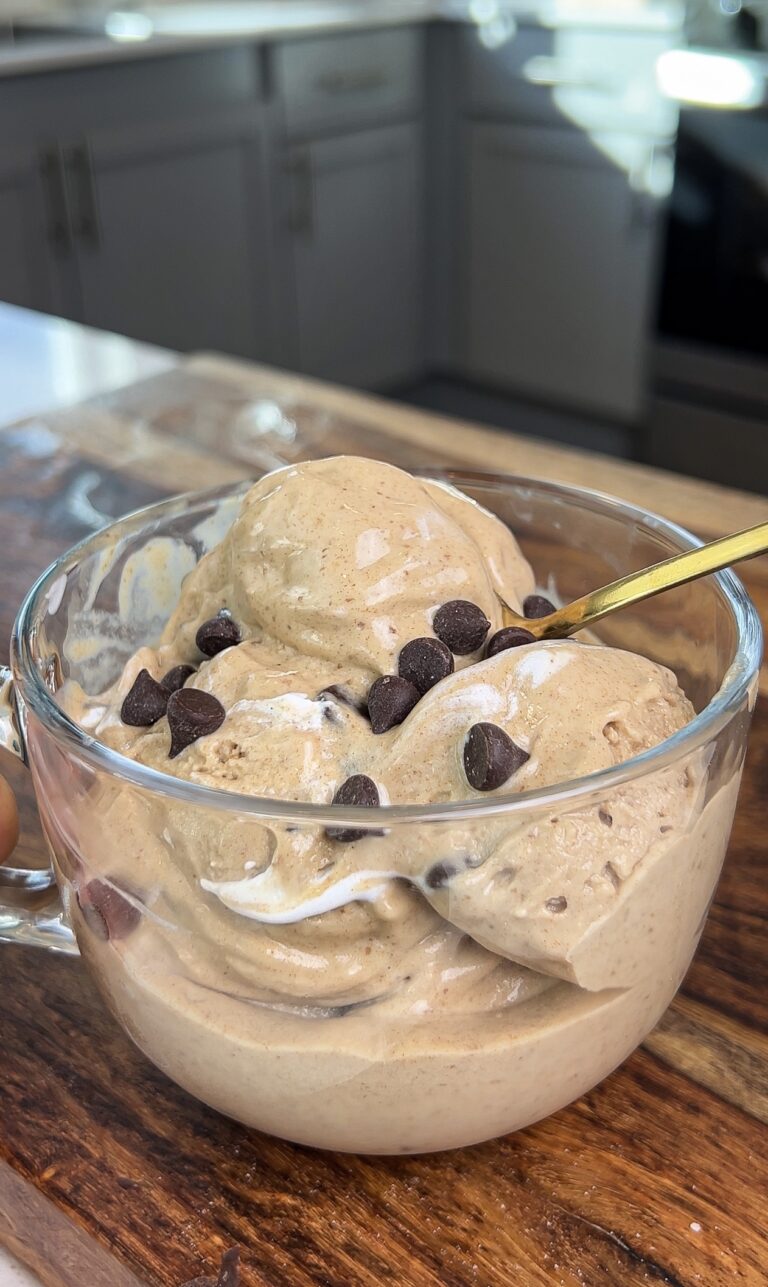
These addicting healthy, vegan Twix cups start with a crunchy cookie base, have an easy nut butter caramel filling, and topped with chocolate and flakey sea salt! This copycat Twix recipe is dairy, gluten, and refined sugar-free and are the perfect bite-sized treat to keep around for when your sweet tooth hits!

Growing up, Twix candy bars were always my number one choice. Something about a crunchy cookie base, caramel filling, covered in chocolate – what else could you need, you know? When I started creating more wholesome recipes, homemade copycat candy bar recipes were my favorite to create. Whether you’re a Twix fan, or enjoy Almond Joy’s, Rolo’s, or Snickers, i’ve got something for everyone. Because healthy ingredients can be just as good! 😉
These delicious little bites of heaven have an almond flour shortbread cookie crust, are topped with a nut butter “caramel”, and then covered with a layer of chocolate and flakey sea salt. If you can’t have almond flour, no stress! I’ll leave an oat flour cookie base option in the recipe card!
Why you’ll love this recipe
- Ease – made in one bowl, these bites come together very quickly & easily! No blender or food processor is needed!
- Crowd pleaser – my entire family (who are harsh critics) adore these! They’d make a great snack for toddlers and kids as well!
- Wholesome ingredients – these come together with just a few wholesome ingredients that you hopefully have on hand!
- Just as tasty – they have that crunchy cookie base, gooey center, and chocolate shell. They have it all!
- Perfect for specific diets – these are vegan, gluten-free, refined sugar-free, and grain-free. They can also be made nut-free if need be!
Healthy Twix cups recipe video
are twix cups healthy?
I am all about 80/20, but let’s be real – i’m also a girl that loves a healthy treat after every meal. Twix bars, while fine in moderation, are packed full of refined sugar, artificial flavors, and corn syrup, which are things I don’t typically consume at home, which is why I absolutely love this easy, homemade version! Let’s take a peak at the ingredient comparison below:
TWIX BARS: INGREDIENTS: MILK CHOCOLATE (SUGAR, COCOA BUTTER, CHOCOLATE, SKIM MILK, LACTOSE, MILKFAT, SOY LECITHIN, PGPR, ARTIFICIAL FLAVORS), ENRICHED WHEAT FLOUR (WHEAT FLOUR, NIACIN, REDUCED IRON, THIAMINE MONONITRATE, RIBOFLAVIN, FOLIC ACID), SUGAR, PALM OIL, CORN SYRUP, SKIM MILK, DEXTROSE, LESS THAN 2% – SALT, COCOA POWDER, SOY LECITHIN, MODIFIED CORN STARCH, BAKING SODA, ARTIFICIAL FLAVOR.
HEALTHY TWIX BITES: ALMOND FLOUR, NUT BUTTER, MAPLE SYRUP, COCONUT OIL, VANILLA, CHOCOLATE CHIPS, SEA SALT.
It’s always wild to me how just a few wholesome ingredients can create something SO dang good!

How to make healthy twix cups
Equipment
- Mixing bowl
- Spatula
- Mini muffin mold/pan: I highly recommend using a silicone pan as it’ll make the entire process a breeze!
Ingredients
- Almond flour: This makes an incredible shortbread cookie base! If you can’t consume almond flour, you can use both cashew flour and tiger nut flour as a 1:1 substitute. I will also leave an oat flour base in the recipe card!
- Maple syrup: Any sticky sweetener will work (honey, agave, etc).
- Almond or peanut butter: Any nut or seed butter works. You can use sunflower butter or tahini for a nut-free option.
- Coconut oil: Avocado oil also works!
- Vanilla & sea salt
- Chocolate chips: I like to use Hu Kitchen chocolate! You can use “danishealthyeats” for a discount!
Steps to make healthy, vegan twix cups
- First, mix together the base ingredients. Then divide the dough amongst a mini cupcake tin or mold. Bake.
- While the bases are baking, mix together the filling ingredients.
- Once the bases have cooled, divide the filling amongst the tray, leaving a little less than 1/3 of space in each one for chocolate.
- Melt the chocolate until smooth. Then divide amongst the tray, covering the fillings.
- Pop in the freezer to set!

Storing leftovers
Store leftovers in an air-tight container in the freezer. You can let them sit on the counter for a few minutes if you want a softer texture!
More healthy treat recipes you’ll love!
- Healthy vegan Snickers
- Healthier Mr. Goodbar Candy bars
- Healthy almond joys
- 2 ingredient Rolo’s
- Vegan pumpkin twix bars
- Healthy Twix cookies
- Paleo Millionaire’s shortbread bars
If you try these healthy Twix bites and love, it’d mean the world to me if you left a star rating and review below and tag me in your creations on Instagram @danishealthyeats! x

Healthy Twix Bites (paleo, vegan)
Ingredients
Cookie base
- 1 cup almond flour
- 3 tbsp maple syrup
- 2 1/2 tbsp coconut oil
- 1 tsp vanilla
- pinch sea salt
Filling
- 1/2 cup almond butter *or peanut butter, cashew butter, etc.
- 1/4 cup maple syrup
- 2 tbsp coconut oil melted
- 1 tsp vanilla & pinch of sea salt
Chocolate topping
- 1 cups chocolate chips
- 1 tsp coconut oil
Oat flour base (almond free)
- 1 cup rolled oats
- 1/4 cup +1 tbsp coconut flour
- 1/4 cup coconut oil melted
- 1/4 cup maple syrup
- 1 tsp vanilla & pinch of sea salt
Instructions
- Preheat the oven to 325F.
- If using a metal mini muffin pan, I recommend using mini muffin liners or else you'll have trouble popping them out of the mold. I like to use a silicone pan – you don't even have to spray it with oil or anything!
- Mix together the base ingredients until the dough forms. It may seem like it won't come together at first, but it will! Divide the dough amongst the pan, filling each crevice about 1/3 of the way full. Bake for 8-10 minutes until slightly golden around the edges. Remove from the oven and cool completely.
- While the bases are baking, combine all of the caramel filling ingredients in the bowl, mixing until smooth. Once the bases have cooled, add some of the caramel filling to each base, covering it, but leaving a little less than 1/3 for the chocolate. Pop the tray in the freezer for 10 or so minutes to firm up a little (You can skip this, but it helps prevent the chocolate and caramel layers mixing together).
- Melt the chocolate using the double-boiler method or in the microwave by adding the chocolate & oil together in a bowl and heating in 30 second increments, stirring well between each, until smooth. Cover each of the cups with the chocolate.
- Place in the freezer for at least 2-3 hours to firm up, before popping them out of the pan. I like to let the chocolate set in the freezer for 15 minutes or so and then top with sea salt & leave again to freezer for the 2-3 hours. This helps allows the chocolate to get a little firmer so the salt doesn't just sink into the melted chocolate!
- Store cups in an air-tight container in the freezer! You can let them sit out for 5 minutes or so before enjoying if you want a gooier/softer cup!
oat flour base
- Blend the oats into flour consistency, in a high powered blender. Then mix together with the remaining ingredients to form the dough. Follow the rest of the instructions above!


The best flavor!!! My son and I love these!
Hi Sara! Aw, this makes my day! So happy you both like them!
Would these be ok left out of the freezer for a few hours at a party?
Hi Eveline! They would probably be okay served on a tray of ice! If they’re left out at room-temp, they’d get too soft! 🙁
I am OBSESSED <3 so good thank you for this recipe
hi Erika! Aw yay, so happy you loved them!! Thanks so much for trying them! (:
Absolutely delicious omg !! I could eat at least 4 in one sitting
Hi Aeisha! Aren’t they dangerous!? I am SO happy you loved them, thanks so much for trying my recipe!
hi, can i substitute nut butter with seed butter? like sunflower seed butter or pumpkin seed butter?
Hi Ellen! Of course! Any nut or seed butter works! I’ve even used Oat Haus Granola butter! (:
Hello! Is there a substitute for the coconut flour? I don’t have this….. 🙁
Would almond flour work?
Hi Jodi! Yes, almond flour works! They do tend to brown a tad bit faster without coconut flour, so just keep an eye on them!
I am sorry. Got too excited and went directly to the recipe. I have read above almond flour works… Now to make them!! 😛
hi Debbie! Yay, I hope you love them – let me know how it goes! (: