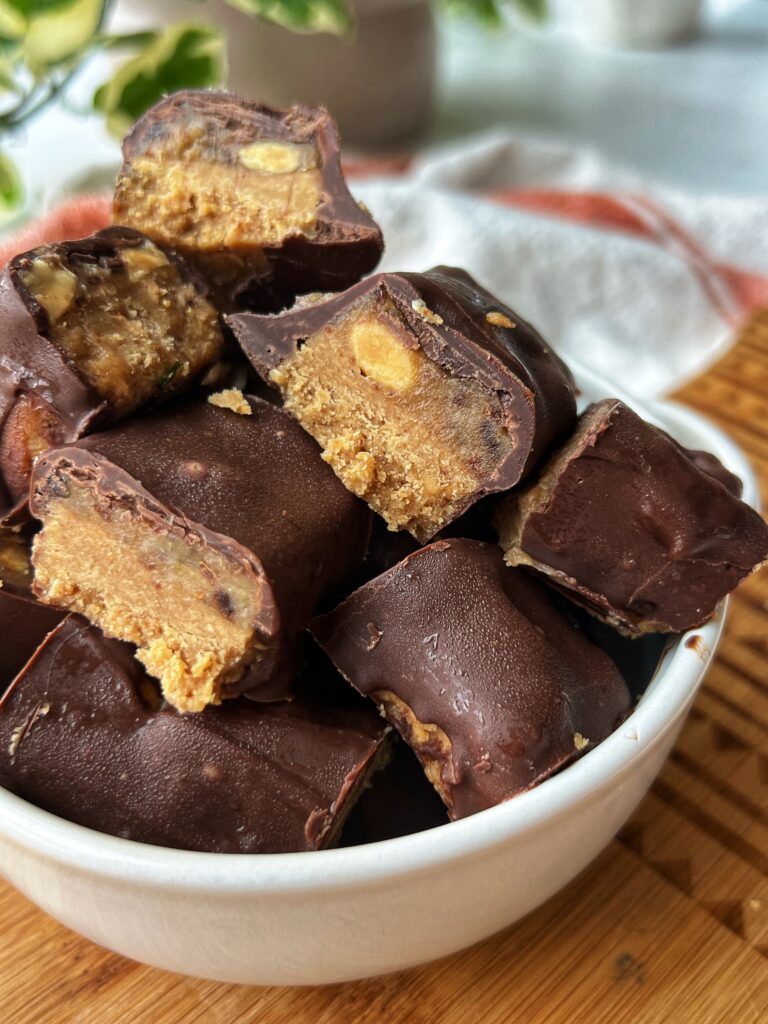
If there is one thing I make every single holiday, it’s my butterfinger bites in some festive form. These butterfinger chocolate eggs are the PERFECT minimal effort, minimal ingredient Easter treat that will please any crowd! Butterfinger eggs can be made vegan, gluten free, and refined sugar free but taste like such a treat!

*Disclosure: This post may contain affiliate links. I may earn a small commission for my endorsement, recommendation, and/or link to any products or services from this website.
Why you’ll love this recipe
- Made with just 5 ingredients.
- Butterfingers are made in one bowl.
- They can be made vegan, gluten free, dairy free, and refined sugar free.
- Comes together in under 20 minutes.
- Tastes like the classic butterfinger, even kids will love!
- They are no bake!
Are butterfinger bites healthy?
Butterfinger easter eggs are made with just four wholesome ingredients! When it comes to making a healthier dessert option, quality of ingredients is what is most important! Let’s take a look:
- Peanut butter: I like to use organic peanut butter that is simply made of peanuts and sea salt. Some peanut butters can contain hydrogenated oils and added sugar.
- Chocolate: I love using Hu Kitchen as their chocolate is made with high quality ingredients and contain no refined sugars. They make both grass-fed milk chocolate and dairy-free dark chocolate! (You can use my code “danishealthyeats” to save on any order!)
- Maple syrup or honey: These are lightly sweetened with either maple syrup or honey, both of which contain antioxidant properties and make a great option compared to refined sugar.
- Corn flake cereal: This is the tough one – it’s hard to find an organic corn flake cereal that isn’t loaded with sugar. I like the brand Nature’s Path Organic corn flakes as it’s made with organic corn and sweetened with pear juice!

How to make butterfinger chocolate easter eggs
Equipment
- Mixing bowl
- Spatula
- Baking sheet
- Parchment paper
- Easter egg mold
Steps
- First, start by melting the chocolate. Then add a small amount of chocolate to the bottom of your mold, making sure to spread it out so it covers the bottom completely and pull it up the sides of each crevice a bit. Pop in the freezer for a few minutes to allow it to harden.
- Next, make the filling. In a bowl, combine all of the filling ingredients, stirring in the cereal last. Next, add some of the filling to each one.
- Add the remaining chocolate on top of each one, spreading it out to cover the fillings. Finally, place the mold back in the freezer for an hour or so before removing them from the molds and placing in an air-tight container.
Can you make these without an easter egg mold?
Yes! You can make these in a muffin tin and they will come out in the shape of a Reese’s! I recommend using cupcake liners if you don’t own a silicone muffin tin!
If you do want a good easter egg mold, this is the one I used. I love having it on hand for fun festive recipes!

FAQ’s, tips, & tricks
- How to store butterfinger bites: These are made to be stored in the freezer! Feel free to let them sit out 5 mins before eating if you want them a little softer!
- How long do butterfinger chocolate eggs last? Butterfinger bites will last up to 2 months in the freezer!
More healthy no bake recipes to try
- Healthy Snickers Bites
- 2 ingredient copycat Rolo’s
- No bake samoa cookies
- Carrot cake bites/truffles
- Homemade Dilly Bar Ice Creams
- 2 ingredient orange sorbet
- Gluten free banana pudding
If you try these, it’d mean the world to me if you left me a review below and tagged me in your creations @danishealthyeats on instagram!

Butterfinger Chocolate Easter Eggs
Ingredients
Butterfinger filling
- 1/2 cup peanut butter
- 3-4 tbsp maple syrup
- 1 tbsp melted coconut oil
- 3/4 cup crushed corn flake cereal
- good pinch of sea salt
Chocolate coating
- 1 1/3 cups chocolate chips
Instructions
- Melt the chocolate: You start by adding a small amount of chocolate to the bottom of your mold, making sure to spread it out so it covers the bottom completely and pull it up the sides of each crevice a bit. Pop in the freezer for a few minutes to allow it to harden.
- While the mold is in the freezer, make the filling. In a bowl, combine all of the ingredients besides the cereal, until smooth. Then mix in the cereal. Taste the mixture. If you want it a little sweeter, you can add an extra tablespoon of sweetener.
- Once the chocolate layer has hardened in the molds, remove it from the freezer. Add some of the filling to each one.
- Next, use the remaining chocolate to pour over top of each egg, spreading it out to cover the filling. Place the mold back in the freezer for an hour or so until completely firm (You want to give it time so the filling firms up as well). Then remove the eggs from the mold and place them in an air-tight container.
- Store in the freezer!

Like a healthy snickers and so easy to make. Loved it, thank you ☺️
Hi Lorena! Ahh, this makes me so happy! Thank you so much for trying them! They’re my weakness!
Love the recipe, I did it with almond butter and add 1/4 of almond flour
Delicious.
Thanks you
Loveee using almond butter! Thank you so much Susanna, i’m so happy you liked them!!
Did as is. 10/10
hi kate! i’m so happy you enjoyed them! thank you so much for trying them!